No need to wait for an appearance from the Great Pumpkin for this yummy fall inspired pizza! You may have to look for it, but the pumpkin is in there!
So when you first hear it, perhaps it is not so appealing. Pumpkin on a pizza? But pumpkin is sweet, you say. But, this pizza is super good! Only the sauce is made with pumpkin--and that by itself is really rather bland. No cinnamon, nutmeg or sugar here. This pizza is topped with sausage, onion and peppers. That is a winning combination. Build it all on a FatHead crust, and it is a-mazing. (I stuck pretty close to Tom's original recipe, but there are tons of variations out there, Feel free to use your personal favorite.)


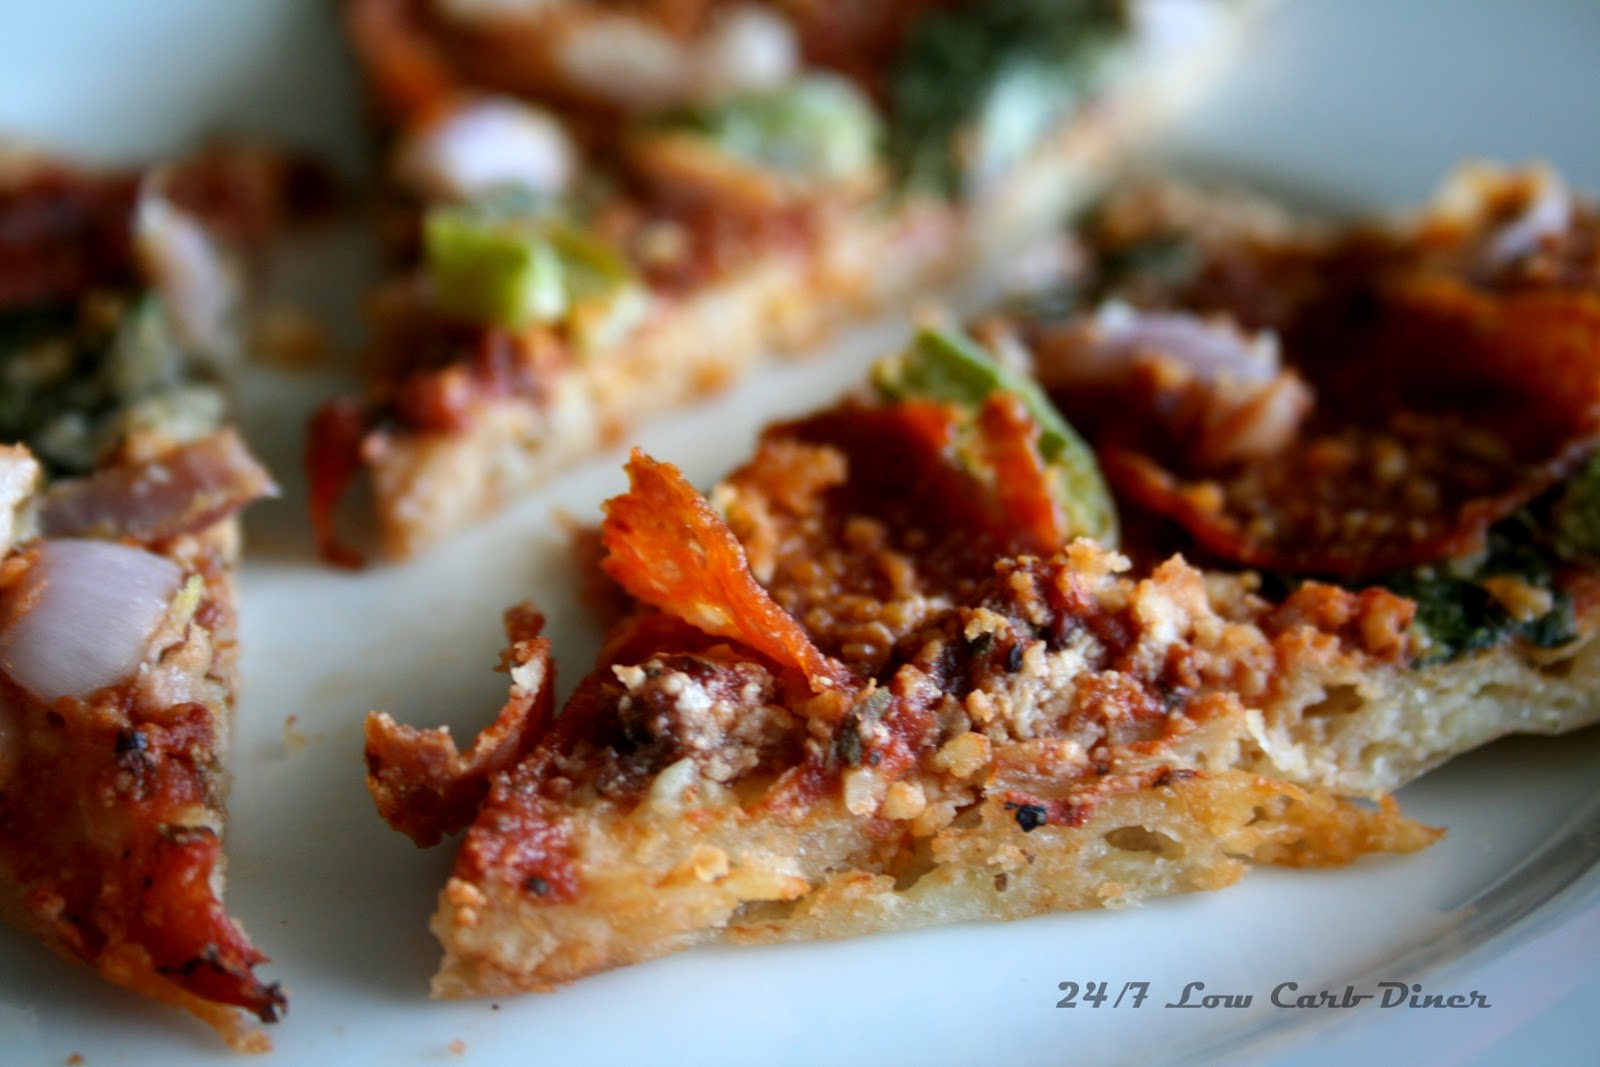
The Great Pumpkin Pizza
Fathead Dough:
1 and 3/4 cup mozzarella cheese, shredded
2 tbsp cream cheese
3/4 cup almond meal/flour
1 egg
1/4 tsp sea salt
Combine mozzarella and cream cheese in a microwave safe bowl. Cook for one minute. Stir, and cook for additional 30 seconds in microwave. Mix in egg, salt, and stir. Shape dough into a ball and place between two pieces of parchment. Place on a cookie sheet and press flat. Bake at 400 for 8 -10 minutes, or until the top is browning. Remove from oven and add sauce and toppings.
Sauce:
3/4 cup pumpkin puree
2 tsp minced garlic
1 tbsp tomato paste
1 tsp Italian seasoning
Toppings:
1/2 lb pork sausage, browned
1/4 cup diced onion
1/2 cup bell pepper slices
1 tsp red pepper flakes (optional)
1/2 cup mozzarella
In a small saucepan, simmer the sauce ingredients for 10 minutes. While that is cooking, brown the sausage with the onion and bell pepper. Drain.
Top the cooked crust with sauce, sausage and veggies, an additional half cup of mozzarella and your preferred toppings.
Bake at 350 for an additional 5-8 minutes. Serves 4: 516 calories 8 net g carb

Celebrate fall with this delicious pizza. It is great if you have half a can of leftover pumpkin puree wasting in the fridge. It will cure any pizza craving without a cheat.
I have been baking up several fall dishes this afternoon for the October Diner News. It sure would be nice if the weather would cooperate. A high in the 90s is not getting me in the spirit of the season. My kitchen is as hot as ever. Hoping the cooler temperatures arrive soon. Good thing pizza is a year round favorite for me. Now off to grade some geometry papers. Those aren't my favorite either, but it has gotta get done. Hope your fall is blessed!

Get more great recipes at the Low Carbing Among Friends Facebook Page: https://www.facebook.com/LowCarbingAmongFriends